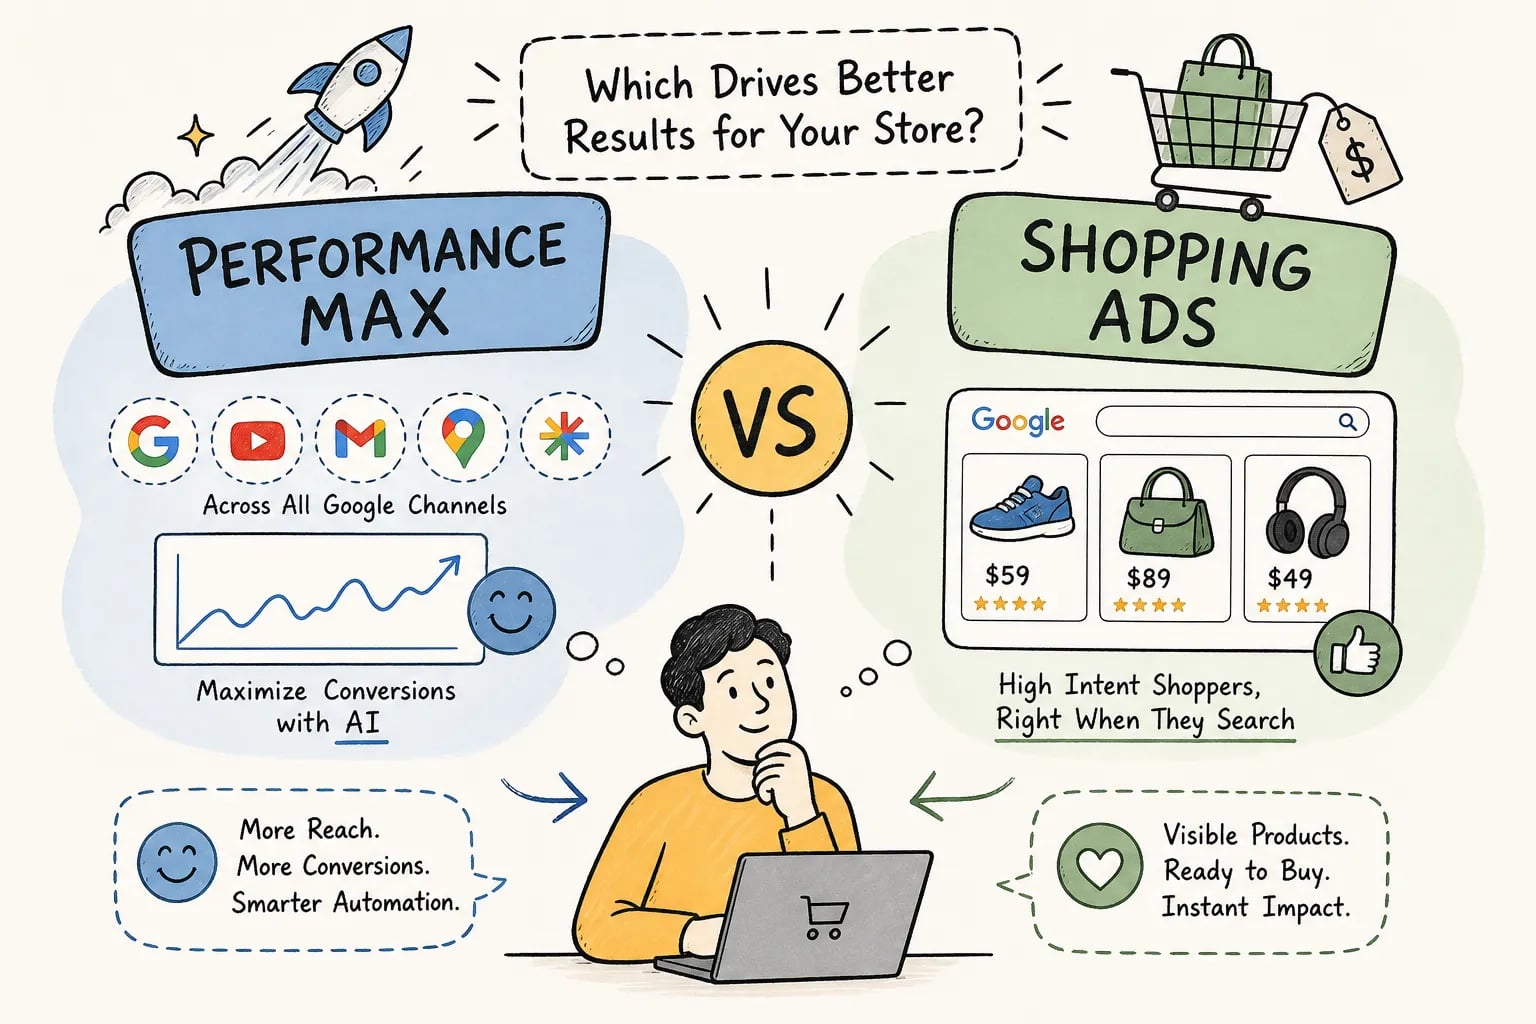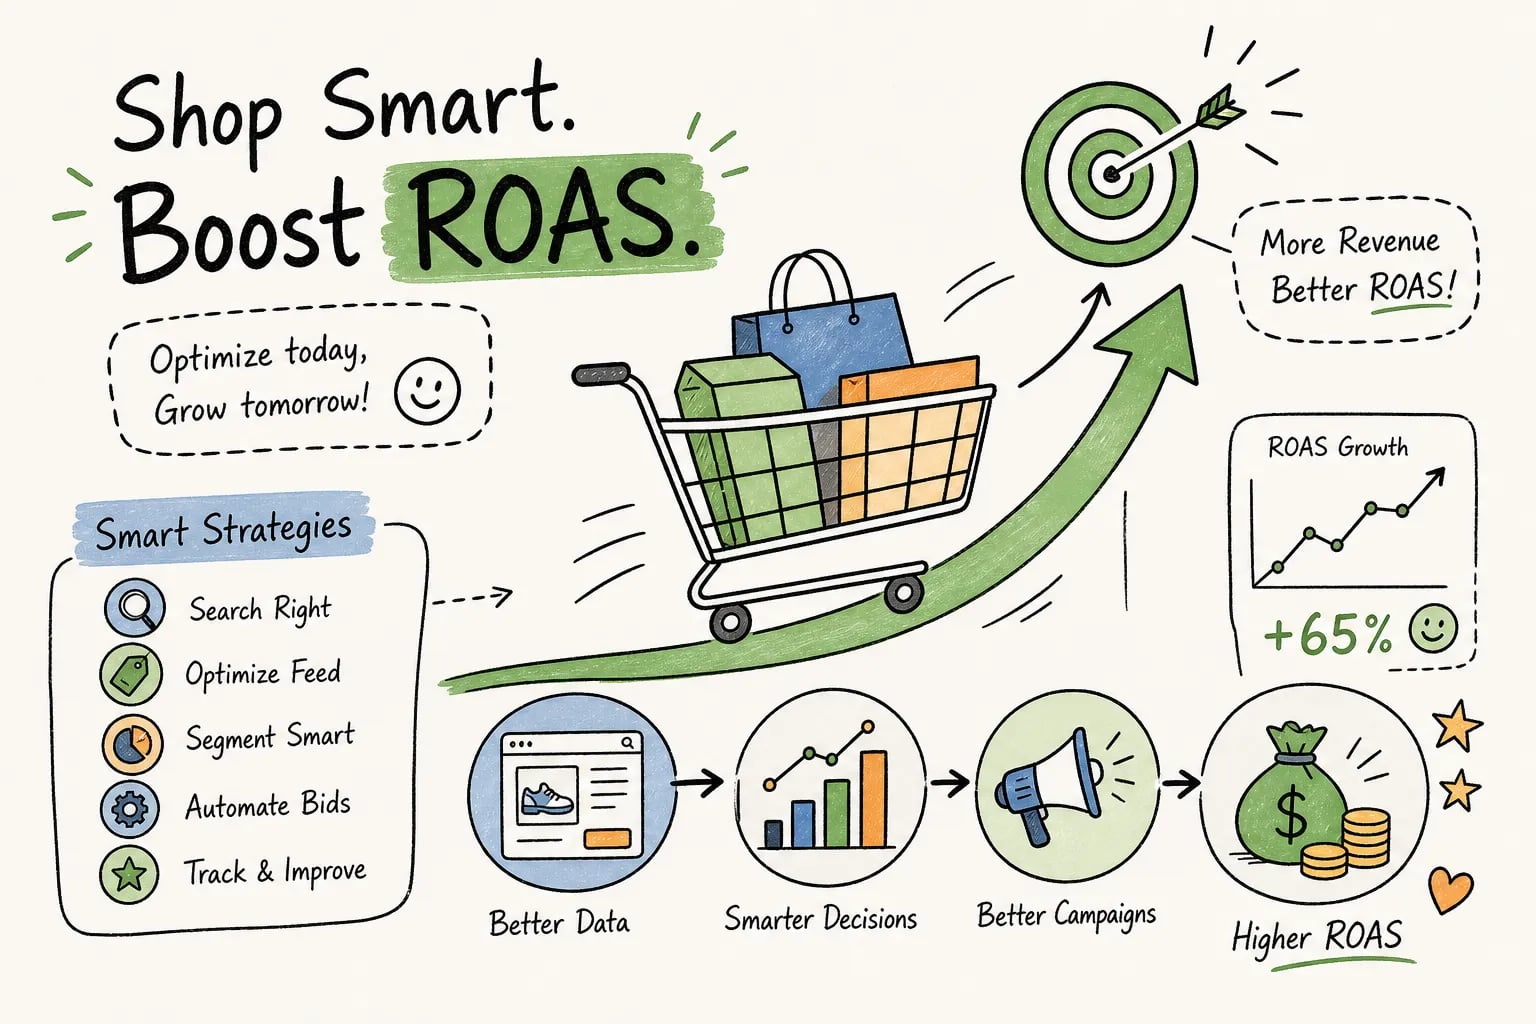
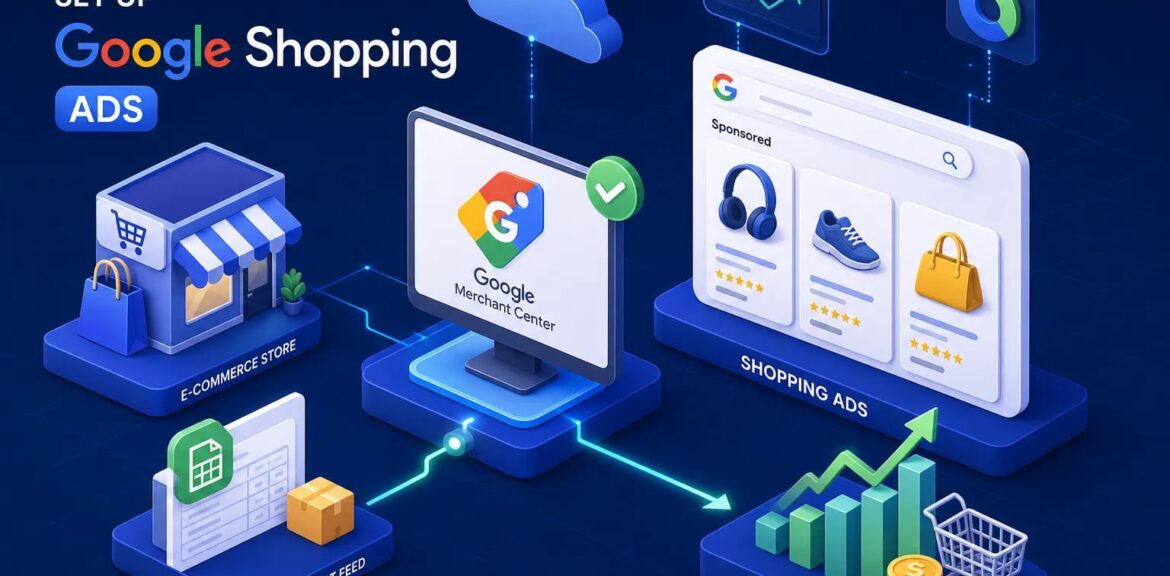

This google shopping ads setup guide walks through every step you need to launch a profitable Shopping campaign, from creating your Merchant Center account to clearing your first disapprovals. Google Shopping ads display your product image, price, and store name before a user clicks, which means they often attract higher purchase intent than standard text ads because shoppers can see exactly what they’re buying before they commit. Whether Shopping campaigns outperform text ads in conversion rate and revenue per click depends on your category, feed quality, and campaign maturity, but when the setup is done right, the results are consistently strong.
The setup itself has four connected pieces: a verified Google Merchant Center account, a compliant product feed, a clean campaign structure, and a bidding strategy that matches your current data volume. Skip any one of those pieces and you risk product disapprovals, suppressed serving, or poor optimization signal. This guide walks through each step in sequence so you can launch your first Shopping campaign with confidence and avoid the feed errors that trip up many first-time advertisers.
If you’d rather not build this on your own, the team at EcomTalkPoint sets up and optimizes Google Shopping campaigns for ecommerce brands, handling everything from feed configuration to ongoing bid management, that option is here when you need it. For now, here is exactly how to do it yourself.
Google Shopping Ads Setup: Getting Your Merchant Center Account Ready
Creating and verifying your Merchant Center account
Go to merchant.google.com and sign in with the Google account connected to your business. Enter your business name, country, and time zone during setup. Some of these details are restricted from editing after the fact, so confirm them carefully before you move on, Google’s account settings documentation outlines which fields can be changed and under what conditions.
Next, verify and claim your website URL. Google offers three methods: an HTML meta tag added to your homepage, a connection through Google Analytics, or a snippet deployed via Google Tag Manager. All three work; choose whichever matches the access you already have. Verification confirms you own the domain before Google allows your products to show as ads.
Linking Merchant Center to Google Ads
Inside Merchant Center, navigate to Access and services, then open Apps and services, and select Add service. Choose Google Ads from the list. Enter your 10-digit Google Ads Customer ID when prompted. If you manage both accounts under the same Google login, the link completes immediately. If someone else owns the Ads account, they need to approve the request inside Google Ads under Tools, then Data manager.
Once the link goes through, confirm the status reads “Linked” in both accounts before moving forward. Without this connection, your campaigns cannot pull products from Merchant Center, and nothing will serve.
What Your Product Feed Needs to Include
Required attributes for a compliant feed in 2026
Every product in your feed must include these seven core attributes: id, title, description, link, image_link, availability, and price. Missing any one triggers product disapprovals before your campaign goes live.
Beyond the core seven, brand is conditionally required for most new physical products, and gtin is required whenever the manufacturer has assigned one. Use the correct GTIN wherever it exists; do not leave it blank or substitute a made-up value. For apparel products specifically, you also need color, size, gender, and age_group as additional required fields.
On images: your main image must be at least 500×500 pixels with no watermarks, promotional overlays, or placeholder graphics. The price and availability in your feed must match exactly what appears on the product’s landing page. Price and availability mismatches rank among the most common sources of disapprovals, and they are entirely avoidable if you keep the store as your source of truth.
Shopping feed optimization: syncing from Shopify or WooCommerce
Shopify users have the most straightforward path: install the Google and YouTube channel from the Shopify App Store and it automatically syncs eligible products and store information to Merchant Center. No manual feed file required. WooCommerce users need a dedicated feed plugin that generates a compliant XML or CSV export and refreshes it on a scheduled basis to keep prices and inventory current.
For both platforms, treat your store as the authoritative source for price and stock. Any time inventory or pricing changes, the feed needs to update on the same schedule. Monitor the Diagnostics tab in Merchant Center regularly so sync errors get caught before they quietly suppress your products from showing.
Feed attributes that improve Shopping performance
Once your required fields are covered, a few optional attributes deliver outsized impact. The product_type field helps Google categorize your items correctly and improves ad relevance across auctions. Custom labels (custom_label_0 through custom_label_4) let you tag products by margin tier, bestseller status, or promotional period so you can apply different bids to those segments at the campaign level later.
Title structure matters more than most advertisers realize. Titles that lead with the most important attributes, brand, product type, key specification, often perform better in Shopping auctions than generic titles. Write titles the way a high-intent buyer would search, not the way an internal catalog team would name a SKU, and test variations to confirm what works for your catalog.
Google Shopping Ads Setup: How to Structure Your First Campaign
Starting with a clean, simple setup
For a new account, start with one campaign, one ad group, and product groups segmented inside that ad group. Trying to build a complex multi-campaign structure before you have performance data is the most common setup mistake, and it makes optimization significantly harder once the campaign is live.
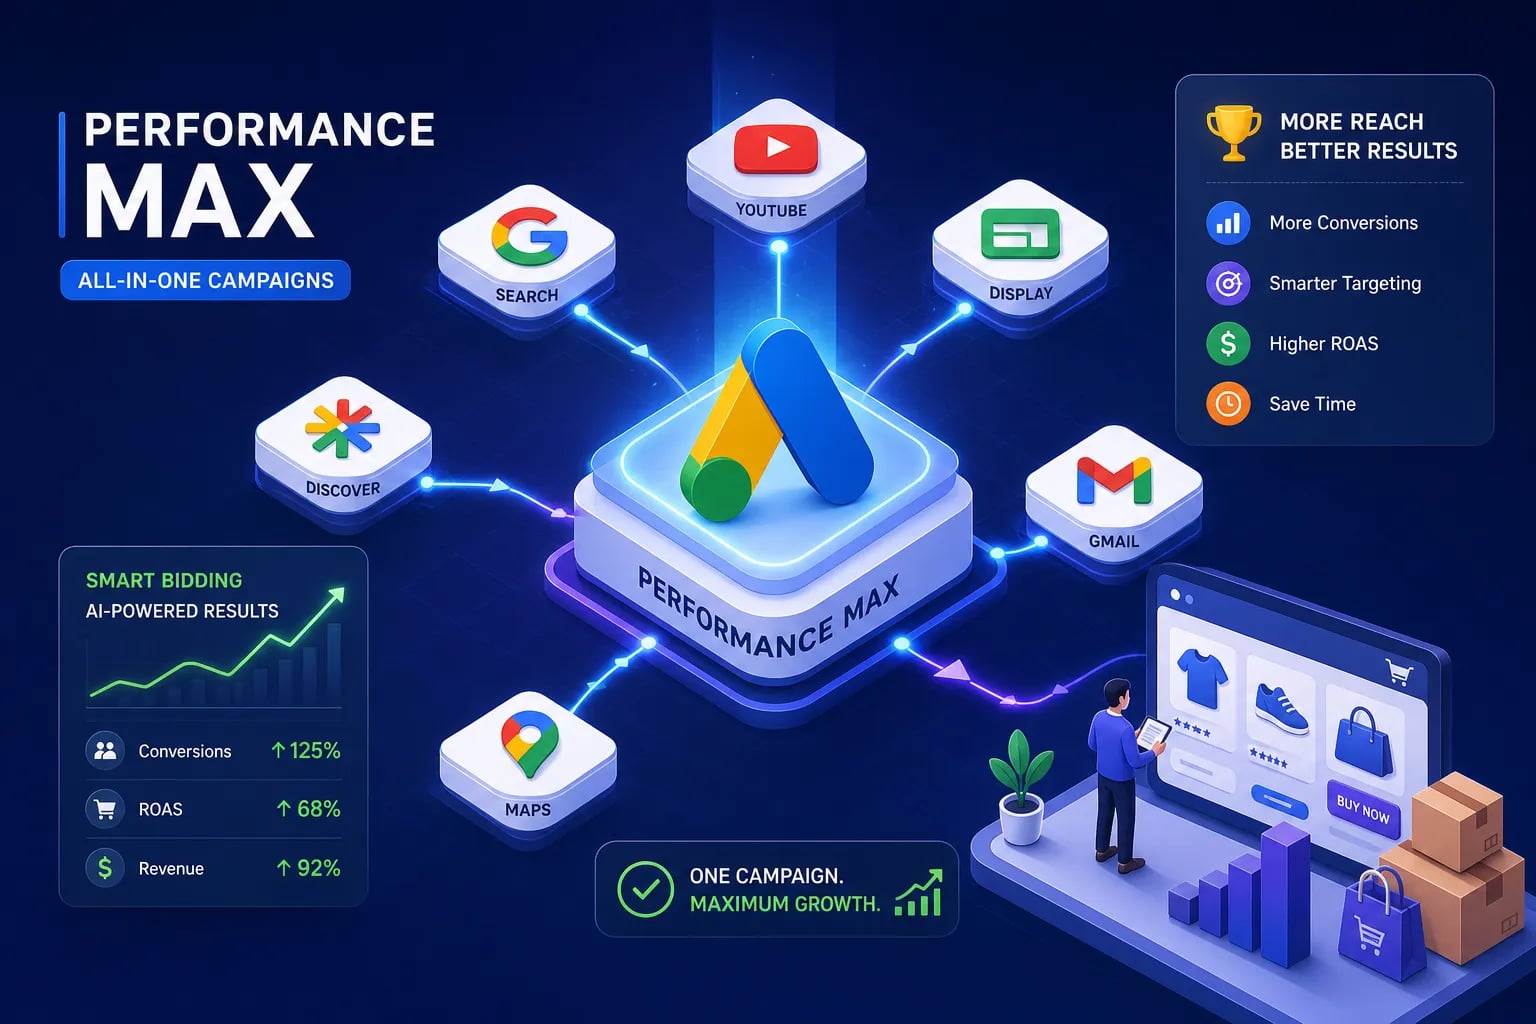
Set the campaign type to Standard Shopping, not Performance Max, at this stage. Standard Shopping gives you direct visibility into which products are spending and converting. Campaign priority settings (High, Medium, Low) are a conflict-resolution tool for when the same products appear in multiple campaigns; with only one campaign running, priority setting is irrelevant at this stage.
Segmenting products inside your ad group
Launch with all products in a single group and let the campaign accumulate enough impression and conversion volume before subdividing, a few weeks of data is a reasonable minimum, though the right threshold depends on your traffic levels. Once you have enough volume, split product groups by category first, then by margin or performance once conversion data gives you a real signal. Use custom labels to flag your bestsellers and high-margin items so you can bid them up separately once the initial data-gathering period is done.
Avoid leaving a large volume of products in an “Everything else” bucket long-term. It hides performance problems at the individual product level and makes it harder to know what is actually working.
Choosing a Bidding Strategy That Matches Where You Are
Why Manual CPC is the right starting point
New Shopping campaigns have no conversion history. Automated strategies like Target ROAS are built to optimize against past data, and without that data they cannot make useful decisions. Manual CPC lets you control exactly how much you bid per product group and shows you clearly where spend is going from day one.
Set a conservative daily budget and starting bids, then review impression share and click volume after the first week to calibrate. Most practitioners recommend accumulating a meaningful base of conversions, Google typically cites 30 or more in a 30-day window as a minimum for Target ROAS, though recommended thresholds vary by strategy and account size, before switching to any target-based automated strategy. Moving to automation before reaching a sufficient threshold leads to erratic delivery and wasted budget while the algorithm tries to learn from too little data.
When to shift to Target ROAS
Once you have sufficient conversion volume in a rolling 30-day window, Target ROAS becomes viable. Set your initial ROAS target close to the actual ROAS you achieved during the Manual CPC phase. Setting an aggressive target too early causes campaigns to under-deliver because Google restricts spend to stay within a profitability threshold it cannot yet hit consistently.
Watch Target Impression Share alongside ROAS after the switch. A ROAS target set too high will starve the campaign of traffic even when individual conversions look profitable, so treat it as an adjustable lever rather than a fixed goal.
Fixing Disapprovals Before and After Launch
The most common disapproval types and their root causes
Disapprovals show up in Merchant Center under Products, then Diagnostics. Every issue is grouped by type and volume, so you can see at a glance whether a problem affects three products or three hundred. The four types you will encounter most often are:
- Price or availability mismatch: the price or stock status on the landing page differs from what the feed reports. Fix the source of truth in your store, resync the feed, and wait for recrawl.
- Missing or invalid identifiers: GTIN, MPN, or brand data is absent or formatted incorrectly. Add the correct values at the feed level and resubmit.
- Image violations: placeholder images, watermarks, or images below the 500×500 pixel minimum. Update the image in your store and resync.
- Policy issues: restricted product claims, unclear business information, or checkout problems. These require fixing the underlying site issue before requesting a manual review.
How to track and clear disapprovals efficiently
Fix issues at the feed or store level rather than editing products one by one inside Merchant Center. Feed updates overwrite manual edits, so any correction made directly in the interface will be erased on the next sync. Make the change at the source, resync the feed, then recheck Diagnostics 24 to 48 hours later to confirm the issue cleared across all affected items.
Use the “Request review” button only after the underlying problem is actually resolved, not as a first attempt to override a legitimate issue. Requesting review before fixing the root cause delays the process and increases the risk of compounding policy problems. Group issues by root cause when you work through them: one feed-level fix often clears the same disapproval across dozens of products at once.
Launch with the Full Picture in Place
Follow this google shopping ads setup checklist to launch on solid ground. The full path runs in order: verify Merchant Center and link it to Google Ads, build a compliant product feed with all required attributes, and structure your campaign simply with one ad group and segmented product groups. Start with Manual CPC until you have enough conversion data, then monitor Diagnostics consistently to catch and clear disapprovals before they suppress your inventory. Each step builds on the last, and getting each one right means your campaign launches cleanly instead of spending budget while you troubleshoot feed errors.
If you want this built correctly from day one without learning on live ad spend, EcomTalkPoint specializes in Google Shopping campaign setup and optimization for ecommerce brands. The team handles feed configuration, campaign structure, bid strategy, and ongoing optimization, so your budget is working as efficiently as possible from launch, rather than weeks later after working through every disapproval. Reach out to the EcomTalkPoint team directly to get started.